Wednesday, February 23

A tutorial ....creating clickable buttons!

Over the weekend I spent a little time creating a clickable shop button.  The process required a little bit of research. Since I spent this time in discovery, I have decided to share this information with you in the form of what I hope is handy little tutorial.

What you will need to complete this project:
1. An image manipulation program ( I like Gimp 2.0, it is a great free program)
2. An image that you would like to use as your button.
3. An image hosting program, photobucket works well.
4. The HTML code for your button
5. and your web blog publishing tool, such as Blogger.


To begin you will need to open your image manipulation program and create a new image. The image should be set to a standard size of 125 pixels x 125 pixels. At this standard size your button will fit into a blog side bar without running over onto the main text of your blog.
Once you have opened your new image, add text and design elements that will complete the final image, you plan to use as your button on you blog.
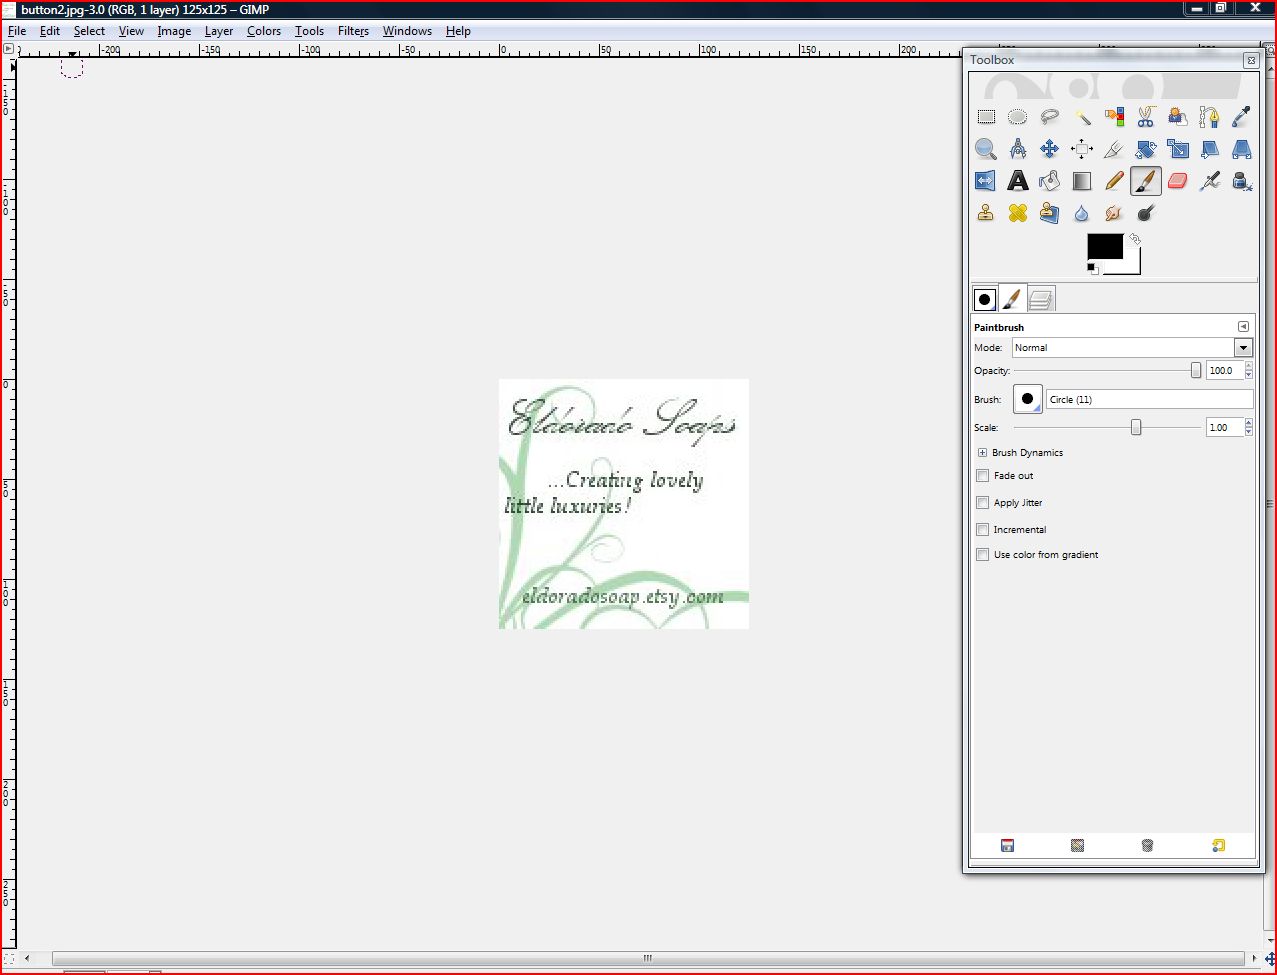
The above slide is an example of a completed image, that will later be used as a clickable button in in my blog site.

Save your image as a jpg. Choose a name for your file and highlight the file type under the heading " selected file type".

Once you have saved your image, open your photohosting site.
select your .jpg and upload it to you photohosting site.
After your image has been uploaded you will be directed to a page that looks like the slide above.
If your using photobucket, you will notice a box to the immediate right. This box contains the direct link that you will need to create your clickable button.

Now that you have your direct link established. It is time to concentrate on creating the HTML gadget that will create your linkable button.
  • Copy the direct link created in your photo hosting program  (http://s1121.photobucket.com/albums/l504/Shop123/shop%20123/ ) 
  • Copy your shop address (shop123.etsy.com)
This is the HTML code needed for your button. Insert you shop address into the location in red. Insert you image direct link into the location in blue.
<a href=" http://   YOUR SHOP NAME GOES HERE/"><img src=" http:// PHOTOHOSTING DIRECT LINK INSERTED HERE.jpg" /></a>

your finished code should look like the example below:
 <a href=" http://shop123.etsy.com/"><img src=" http://s1121.photobucket.com/albums/l504/Shop123/shop%20123/ " /></a>

I usually work with my HTML code in a word document. Once I have saved the changes in Word, I open my blog site to create the gadget. 

In Blogger, for example, click on the "Design Tab" to access your page layout. Within the page layout  click on the location where you would like to add you gadget.
After clicking on add a gadget another window will open. Be certain that you are in the section labeled "Basic Gadgets", scroll down until you locate HTML/JavaScript, click on HTML/ JavaScript.
A new window will open. In this window paste the HTML code that you copied from your word document.


All you have left to do, is to save your code and return to your blog page to test your newly made clickable button. Your all done!

I hope you find this helpful and that you have a lot of fun creating your new button.


Wednesday, February 16

I'm so excited!

Last week I wrote to you about the changing of the seasons and the glorious weather that tempted spring buds from limbs and loam. Today I'm looking out across the horizon and all I see is a dense cloud cover, rain heavy, icy and falling with such weight that tiny tremors radiate across the decking and into a saturated lawn. There has been the occasional flash of lightening followed by distant thunder, wind and a special weather statement calling for cold air funnel clouds. I would be very surprised to see anything closely related to a funnel cloud, since, after all this is the Puget Sound.

Watching the storm fill the sky, I can not help but to focus on spring and I'm so excited about this prospect. Today my UPS carrier arrived at my doorstep. He was covered with raindrops, his uniform one shade darker , his boots wet with water. He smiled, said to me me " nice day isn't it?" and handed me a large, lovely box. Inside this box are my new Spring treasures. heavenly fragrances for soaps, lip balms, and bath bomb fizzies.
I have been waiting for this box, like a child waits for Christmas.....and here it is.

Last week's listings are a preview my new spring collection.  I debuted Sweet Orange Glycerin, a soap bar that smells like a freshly peeled, ripe glistening, florida orange.

 Yummy Pear Goats Milk appeared in my Etsy shop. It is a beautifully colored soap, a mix of peaches, raspberry and vanilla hues. The scent of this soap is clean, feminine and fresh. Yummy pear is not a super sweet scent, it is simply pure and clean.

Bath bomb fizzies are my latest passion. On these stormy days there is nothing quite like relaxing in a a tub of warm water surrounded by a heavenly scent to sweep away tired muscles.
Granny Smith Apple is my current favorite it reminds me of slicing an apple, juicy and crisp. It is invigorating. It is uplifting. it is pure apple.

As this storm blows on, I will be thinking about the contents of my box. The scents that are huddled inside of it, and how I can bring Spring to life in a bath bomb or a bar of soap.

Wednesday, February 9

Transitions

Days like today are are hard to describe, we are caught somewhere between the closing of Winter with all his fury and Spring's grand entrance onto natures stage, she is  beautiful and glorious.
Shadows cast by barren fruit trees still fall long on dormant lawns, but in those shadows are the rumblings of crocus and day lilies.  Tiny green buds are popping from rich, loamy soil.  Today heather blooms shades of rose, cream and dusky mauve. I  see too, the stirrings of oriental poppies, newborn and struggling to warm themselves under a crisp sunshine.

Each tender bud drinks the sunlight, with a sense of knowing. Knowing that as soon as the sky changes it's color from blue to peach and lavender a frosty chill will set upon them. Beautiful Spring briefly tempts the little buds from the ground and from tree limbs, with drops golden sunlight. Winter returns at sundown to remind them that he is still sovereign for a few more days.

The seasons are dancing together now, back and forth.  Spring, she dares to take the lead,  Winter still spins flamboyantly, unwilling to give up his place on this grand arena of change.

Wednesday, January 26

New for January...soaps, scrubs and lip balms!

With the introduction of the new year I have been making some changes to my Etsy shop. I have decided to add a few more items and focus on spring! Granny Smith apple is just one of my spring themed fragrances...I am  offering it in both a glycerin soap and a whipped soap sugar scrub.
Apricot freesia is another beautiful scent that I have combined with my delicious and creamy whipped soap. I absolutely love the way this sugar scrub gently exfoliates and softens my skin. The fragrance is divine and lasts long after I have jumped out of the shower.


And my latest passion is lip balms and butters. For so long I have wanted an unsweetened lip balm, but I could not find one that met my expectations. So, I decided to create my own. Here it is unsweetened bubblegum!
Throughout this season I will be introducing so many more balms, butters and scrubs. I can't wait to show them off...spring is just around the corner, it is going to be a fabulous fresh and fruity time of the year.

Saturday, December 18

How time flys....where has this month gone

December is nearly over, I can't believe it. It seems this is what happens in a busy holiday month. The days fly by and before you know it another brand new year has arrived. In the last two weeks I have found myself unable to attend to my blog, Christmas shopping must be finished for the children in my family, dinner with good friends are numerous and full of holiday cheer, neighbors visit, and cookie baking is far from complete. Colored sugars and frosting await me in the kitchen as I fill this space.
Through all of this I find myself pondering new spring items for my Etsy shop, soaps both solid and whipped are on the agenda, as well as an array of  flavorful lip balms. I am considering solid perfumes and  possibly some various bath salts, there could even be some change ups in the general appearance of my shop website. As the holidays grow nearer and almost to a close, I am looking forward to  a new year, fresh with infinite possibilities


Coming soon 2011 bath and body collection

Thursday, December 9

Rain

I always find myself watching the weather, and today was no different. Torrential down pours, looming blue black clouds, sun breaks and sideways rain. The streets of Seattle became rivers, centerline reflectors disappeared below inches of icy rain, leafless maples lining  avenues bowed on a southwestern breeze. This is the Emerald City in early December, a city of silver awash with glassy liquid.

Saturday, December 4

How to build your own light box

Great photogrphs are essential when you are posting examples of your products online. So on these long winter days, building an inexpensive light box is a great project. This light box can be completed for less than five dollars!

What you will need:

  •  A cardboard box, you choose the size to meet the needs of your project.
  • Duct or packing tape. A clear tape is the best choice
  •  Ruler
  •  Pencil
  •  Box cutter
  •  Light weight paper, tissue paper or vellum
  •  Poster board


    Step One:

    With your box on it's side and the opening facing you, measure 1 1/2 "  from the bottom corner and the side corner of each panel.
    You should have a marked panel that looks like the picture below.


    Complete your measurements on each of the three panels.

    Step Two:

    With the box cutter slowly and carefully cut along the pattern lines. Handle the box cutter with care, be aware of where the blades is at all times.


    Once you have cut the three panels your box should resemble the box below:


    Step Three:

    Next, cut the light weight paper, tissue paper or vellum (remember  the paper you choose should be thin  enough to allow light to filter into the lightbox.) to a size that will fit each of the panel frames. Tape the cut paper to the  panel frame. All three sides are completed when the paper is taped to all of the panel frames.


    Step Four:

    Measure  the poster board to fit the inside of the light box. The  poster board should be large enough to fill the inside of the light box. It should cover the entire back wall from the ceiling of the light box to the floor, and the poster board should extend  out to the  front leading edge of the light box.


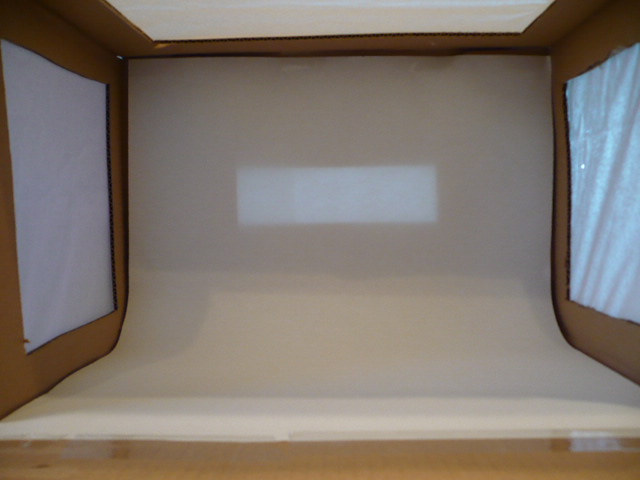
     Now your ready to use your brand new light box. Simply place  an object inside the light box and begin to photograph. You can rely solely on natural light or you place an additional light source outside the light box. The tissue paper will filter and soften any light falling on or around the object being photographed.


    Have fun!